


Need to upgrade from small NVMe SSD to larger or new NVMe SSD for extra storage or better performance? You’ve got one easy way to make it – NVMe SSD cloning. This method will copy everything from one NVMe to another without reinstalling OS or losing data.
AOMEI Backupper is such a reliable hard drive cloning software for M.2 NVMe SSD. It offers a straightforward way to move data from NVMe to NVMe with minimal effort. In this guide, we’ll review why AOMEI Backupper is a great choice and walk you through the cloning process step by step.
Why Choose AOMEI Backupper for NVMe Cloning?
AOMEI Backupper is focused on system backup and cloning, making it an excellent choice for both beginners and advanced users. The software is designed with simplicity in mind, offering an intuitive interface while still providing powerful features.
It has more than 15 years of experience and earns good reputation among users around the world. AOMEI Backupper is widely used in personal and professional environments, ensuring data security and smooth system migrations.

AOMEI Backupper has these highlights for NVMe Cloning:
- Bootable cloning: Allows you to clone M.2 NVMe drive without booting Windows.
- Flexible cloning: Copy all data from NVMe to NVMe disk with Sector-by-sector mode, or copy only used space when cloning NVMe to smaller NVMe SSD.
- SSD alignment: Auto 4K alignment (critical for SSD performance and longevity).
- GPT and MBR cloning: Supports convert partition styles between MBR and GPT if necessary.
- Wide compatibility: Supports all brands of NVMe SSDs, such as Samsung, WD, Micron, Kingston, SanDisk, etc.
Important: If you want to clone NVMe to NVMe with only one slot, please use the Backup, Restore, and Bootable media features in AOMEI Backupper. Let’s get to know detailed steps.
2 Ways – How to Clone NVMe to NVMe in Different Cases
Before starting, ensure your new NVMe SSD is properly connected (via an M.2 slot or an external enclosure). Also, back up important data in case of unexpected errors.
Method 1: Directly Clone NVMe to NVMe SSD via Disk Clone
Use this method if you have two or more slots to connect both NVMe SSD at a time.


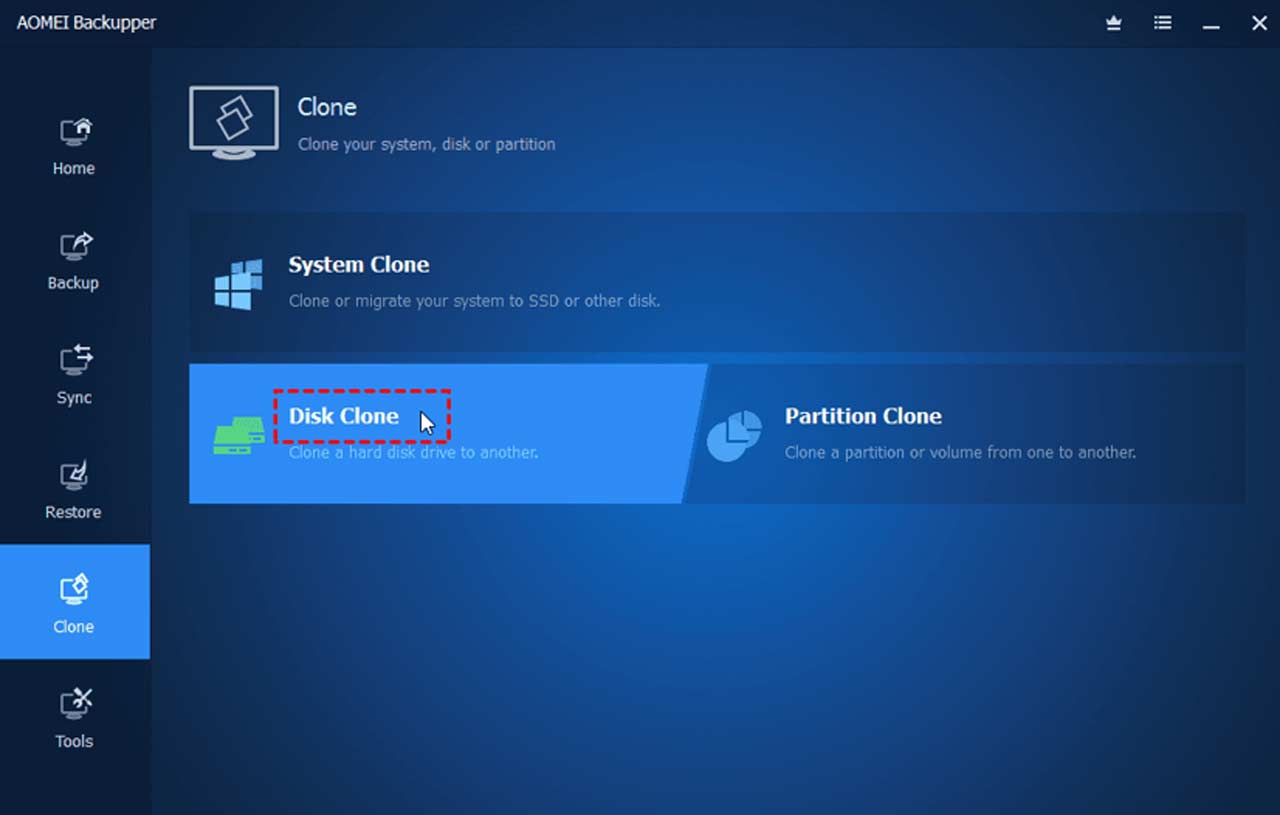
Step 1. Download, install and launch AOMEI Backupper. Select Clone > Disk Clone. You may select System Clone to move only OS to NVMe SSD.
Step 2. Pick your current NVMe SSD as the source disk and the new NVMe SSD as the destination disk.
Step 3. Check the option SSD Alignment to optimize performance on the new SSD. Preview the operation and start the cloning process.
Tips:
- Sector-by-sector Clone: Use this if you need an exact copy (takes longer).
- Edit Partitions: Use this to adjust partition size or convert between MBR and GPT.
Step 4. Once finished, shut down your computer and replace the current NVMe SSD with the new one.
Step 5. Boot from the new NVMe SSD to ensure everything works correctly. Check disk partitions in Disk Management to confirm all data transferred properly.
Method 2: How to Copy NVMe to NVMe with Only One Slot
Use this method if you only have one slot to connect NVMe SSD (most laptops).
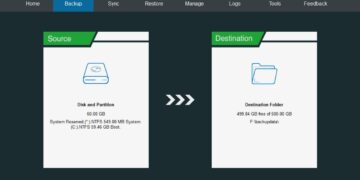
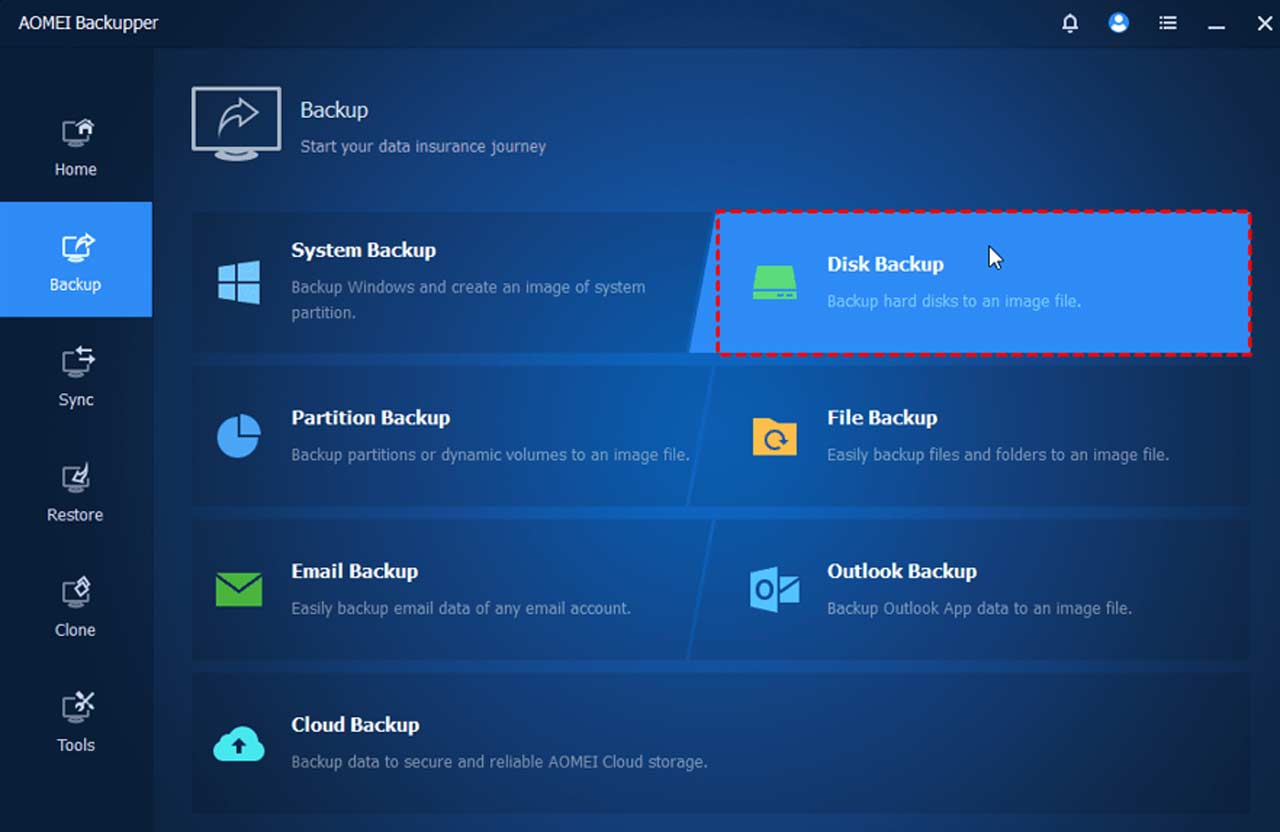
Step 1. Open AOMEI Backupper. Click Backup > Disk Backup to create a backup image of the old NVMe SSD.
Step 2. Once finished, click Tools > Create Bootable Media to make a WinPE bootable USB drive or disc.
Step 3. Power off your laptop and disconnect the power cable along with any other connected cables. Remove the back panel, replace the old NVMe SSD with the new one, and then reattach the back panel securely.
Step 4. Insert the bootable media you created earlier. Restart your laptop and press the designated key (such as F2 or ESC) during startup to enter the BIOS. Navigate to the Boot menu and set the USB device as the first boot option. AOMEI Backupper will be automatically loaded.
Step 5. In AOMEI Backupper, click Restore > Select Image File, then choose the backup image you created. Follow the on-screen instructions to restore the disk backup to the new NVMe drive.
Tip: When you try to boot the new SSD, remember to eject the bootable drive and change boot order.
Troubleshooting Tips for NVMe Cloning
- Cloning fails? Ensure both NVMe drives are detected in BIOS.
- System won’t boot? Recheck boot order in BIOS or use AOMEI’s bootable media.
- Slow performance? Enable TRIM and AHCI mode in BIOS for optimal SSD speed.
Final Thoughts
AOMEI Backupper simplifies NVMe to NVMe cloning with a clean user-interface and reliable cloning performance. Whether you’re upgrading to a larger SSD or replacing an old drive, this tool ensures a smooth transition without data loss. The company’s dedication to quality and user-friendly design makes it a top choice for disk cloning and backup tasks.
If you need a hassle-free way to clone NVMe to NVMe, AOMEI Backupper is a dependable solution that gets the job done efficiently. You may also clone PC to PC with this tool easily. Give it a shot and explore more practical features!


